
Taming is one of the most important mechanics in ARK: Survival Ascended. However, not all creatures are tamed in the same way.
Some need to be knocked out, others need to be fed whilst conscious, and some even have a specific taming method.
With the Awesome Spyglass! mod, it becomes much easier to find out how to tame a creature, what food to use and what its stats are. In particular, the mod can display the creature’s information, its status, its stats and details relating to taming.
🔭 AWESOME SPYGLASS: THE ESSENTIAL TOOL
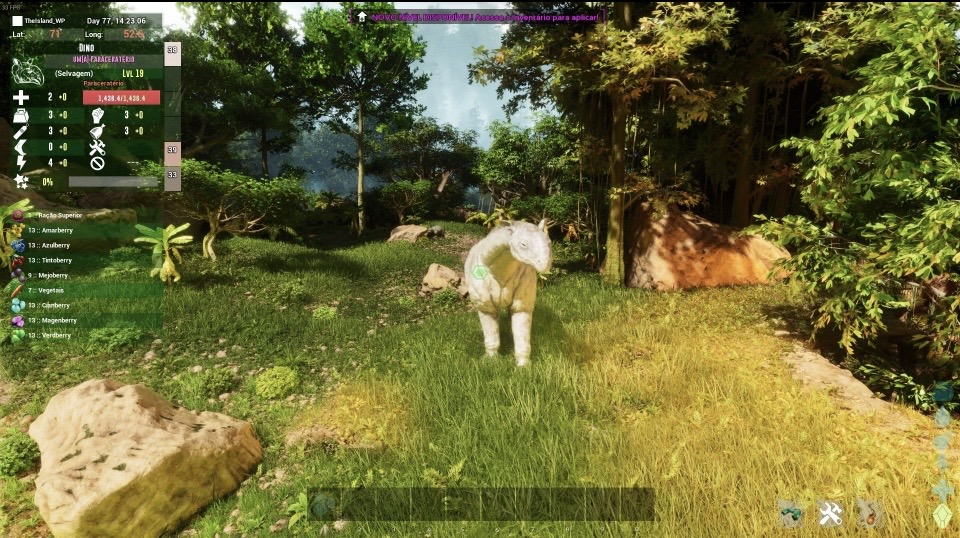
Before you start taming, get your Awesome Spyglass out and take a look at the creature.
The Spyglass allows you to view, amongst other things:
- 🟢 The creature’s level
- ❤️ Its stats
- ⚡ Its torpor
- 🍖 Its taming food
- 📊 Its taming progress
- 💤 Its condition when unconscious
- 🧬 Useful information for selecting dinosaurs for breeding
The mod is available on ASA under Project ID 947033. 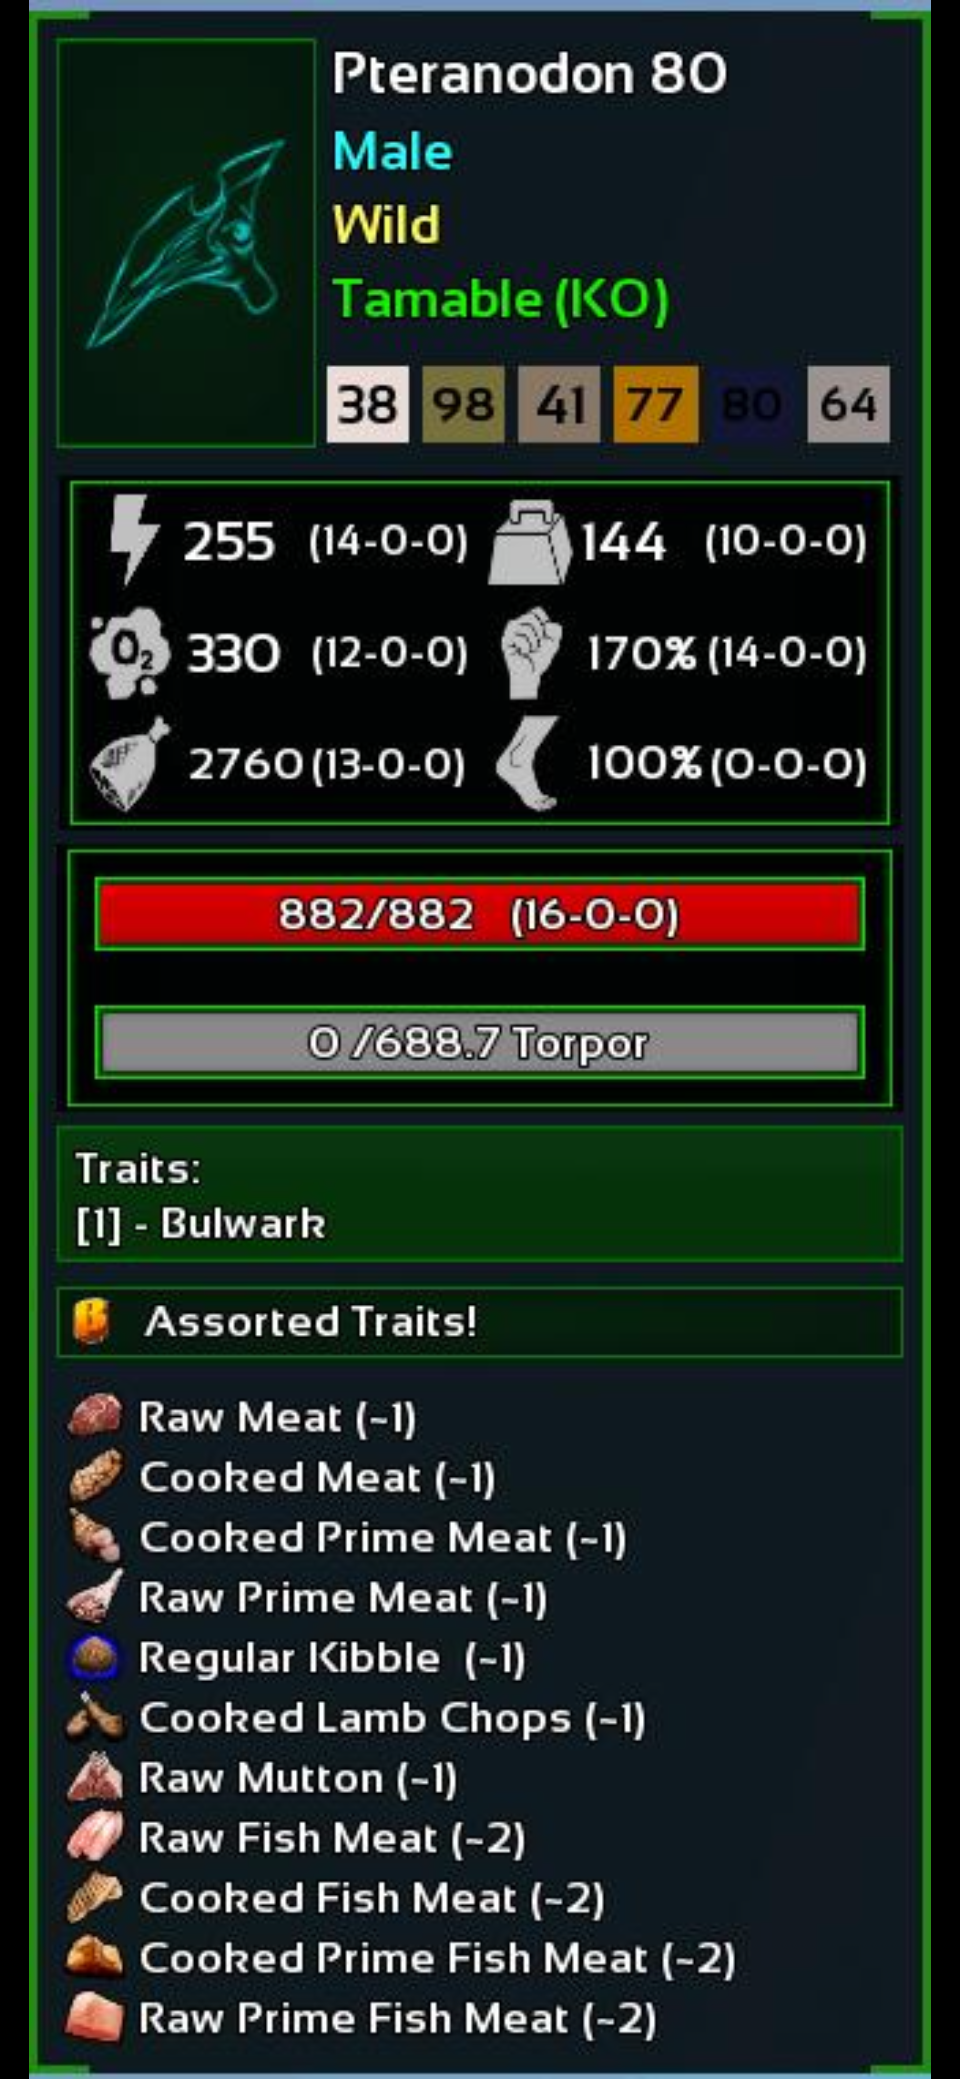
💡 TIP
Before shooting a creature, always check it out with the Spyglass.
You’ll be able to check its stats before wasting time trying to tame it.
💤 1. KO TAMING
Taming by KO is the most common method in ARK.
The principle is simple:
Find → knock out → maintain torpor → feed → wait → tame
Many creatures can be tamed using this method.
🏹 STEP 1 — FIND THE RIGHT DINOSAUR
Start by observing the creature with the Awesome Spyglass.
Check:
Level → stats → food → torpor → taming method
If you’re looking for a dino for PvP or breeding, don’t just look at its level.
Two dinosaurs of the same level can have completely different stats.
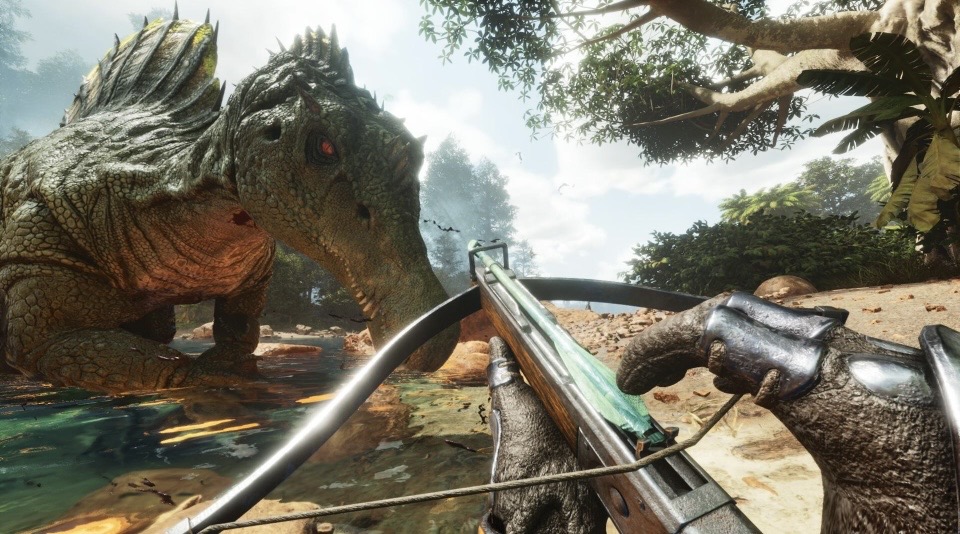
🏹 STEP 2 — KNOCKING THE CREATURE OUT
To increase torpor, you can use different weapons depending on your progress:
Early game
- 🪨 Sling
- 🔨 Club
Mid-game
- 🏹 Bow + tranquillising arrows
- 🏹 Crossbow + tranquillising arrows
Endgame
- 🔫 Longneck rifle
- 💉 Tranquiliser darts
- ⚡ Electric tranquilliser darts
⚠️ WARNING
The aim is not to kill the dino.
You must increase its torpor until it falls unconscious whilst ensuring it retains enough health.
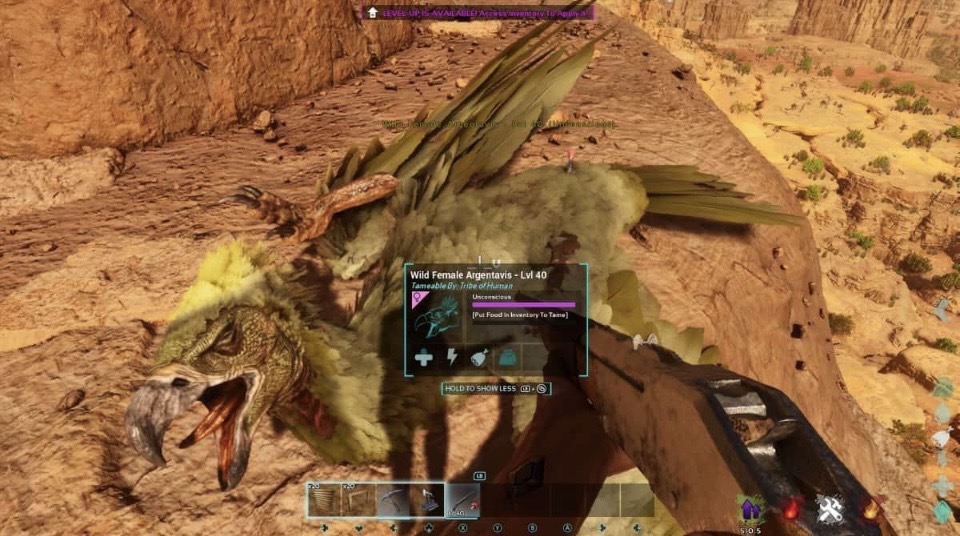
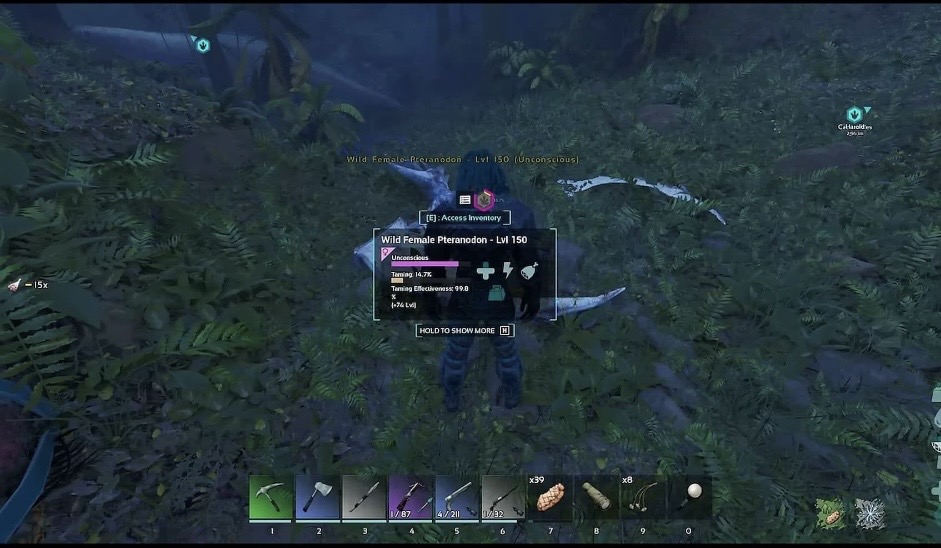
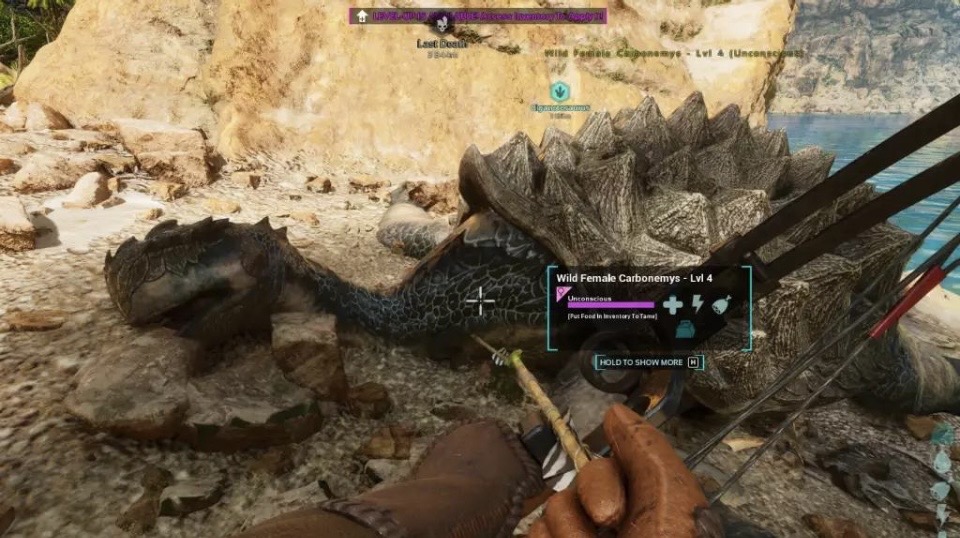
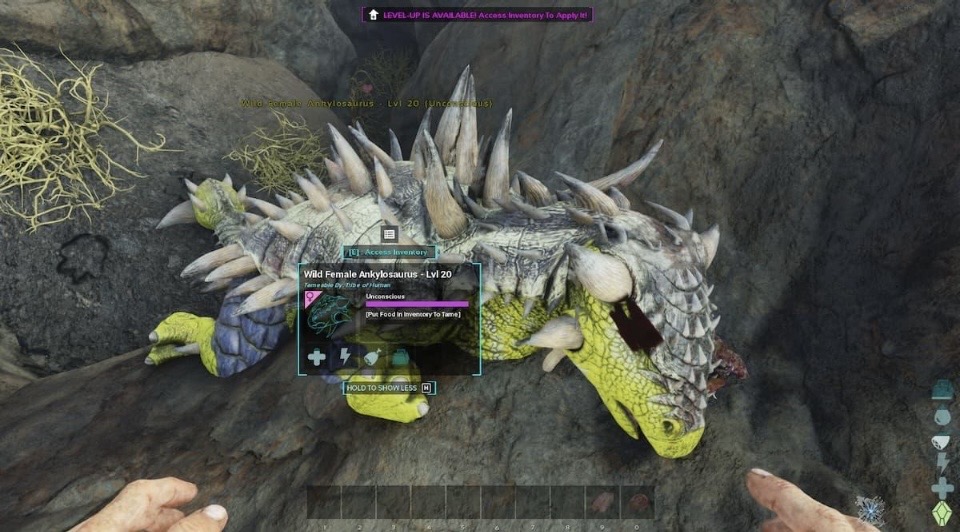
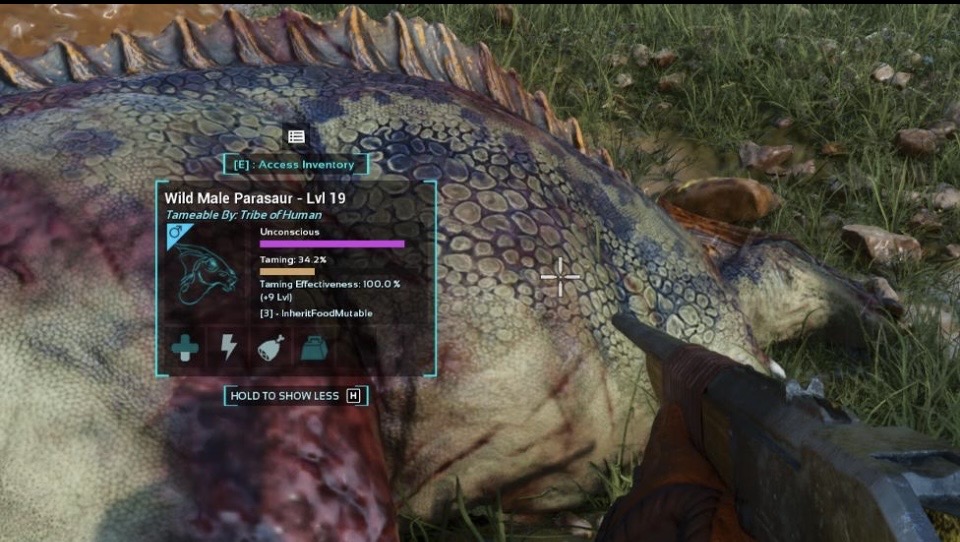
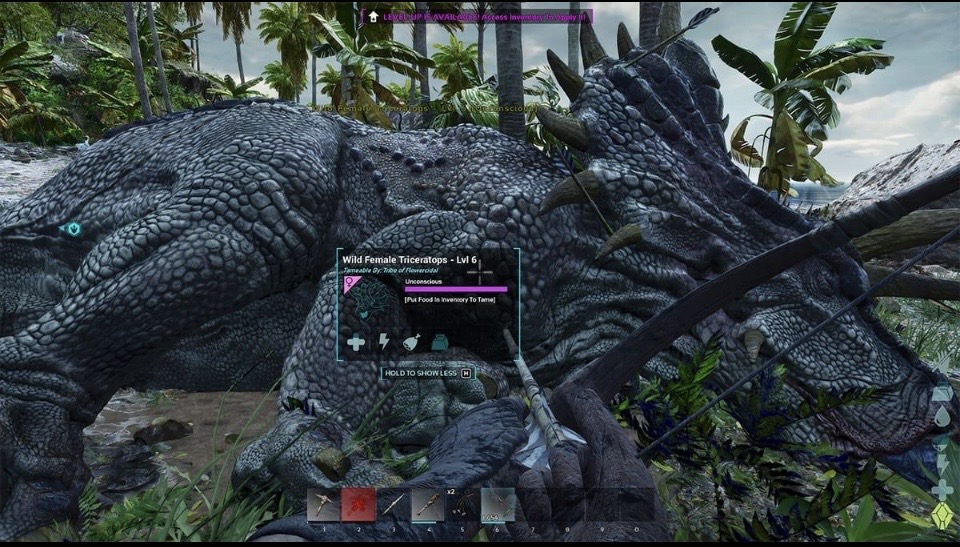
💤 STEP 3 — THE DINOSAUR IS UNCONSCIOUS
Once the creature is on the ground, open its inventory.
You must place its taming food in there.
Example:
T. rex → Kibble / meat
Herbivore → Kibble / vegetables
The best choice depends on the creature.
👉 The Spyglass allows you to check exactly which food to use.
Once the food is in its inventory, you must wait for it to eat.
The creature will automatically consume the food when it is hungry enough.
The taming bar increases instantly.
You can monitor:
Taming %
and
Taming Effectiveness %
using the information provided.
⭐ 6. Taming Effectiveness
Taming effectiveness is important because it influences the bonus levels gained at the end of the taming process.
To maintain good effectiveness:
❌ Avoid hitting the dino whilst it is unconscious.
❌ Prevent other dinosaurs from attacking it.
✅ Use its favourite food.
✅ Secure the area around it.
The aim is to achieve the highest possible efficiency.
🥕 4. PASSIVE TAMING
Passive taming is completely different from taming by knocking out the creature.
You must NOT knock the creature out.
The principle is:
Approach → feed → wait → feed
Some creatures need to be fed directly from your inventory, whilst others require a specific interaction (e.g. Spino). 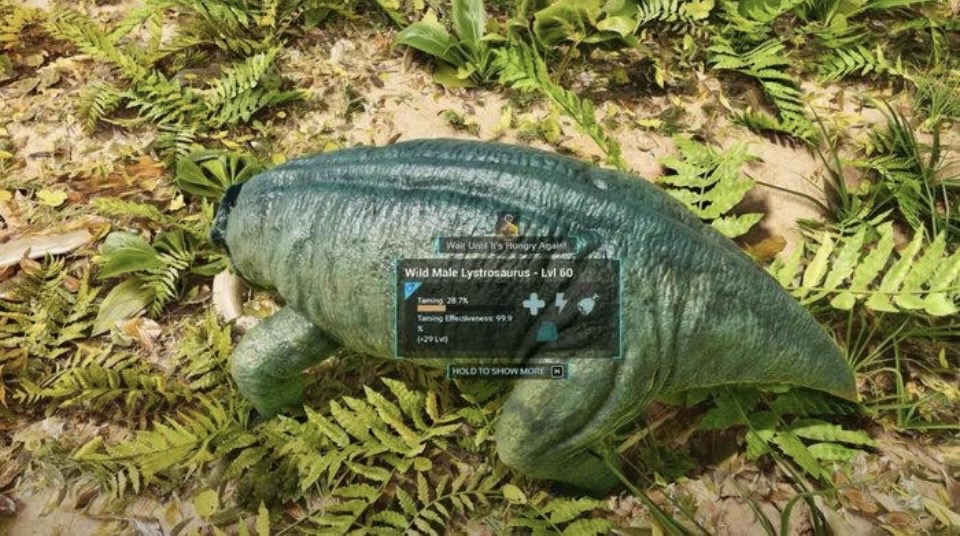
🥕 STEP 1 — PREPARE THE FOOD
For standard passive tames, you’ll usually place the required food in your last quickbar slot.
Then approach the creature.
⚠️ Some creatures have specific mechanics, so always check what the dino requires.
🐾 STEP 2 — APPROACH
Approach gently.
Depending on the creature, running towards it may cause it to flee or trigger a hostile reaction.
Once you’re close enough, the game will let you know when you can feed it.
🍖 STEP 3 — FEED
Give it the food.
🔭 5. THE WAK METHOD TO ENSURE YOU NEVER GET IT WRONG
Before every tame, always carry out this check:
① 🔭 TAKE OUT THE AWESOME SPYGLASS
⬇️
② 📊 CHECK THE LEVEL
Example:
Level 150
⬇️
③ 🧬 CHECK THE STATS
- ❤️ Health
- ⚡ Stamina
- ⚖️ Weight
- ⚔️ Melee Damage
- 🫁 Oxygen
- 🍖 Food
⬇️
④ 🍖 CHECK FOOD
Check what the dino is asking for.
⬇️
⑤ 💤 CHECK THE METHOD
Unconscious / KO
➡️ Knock out.
Passive
➡️ Feed without knocking it out.
⬇️
⑥ 🛡️ SECURE THE AREA
Eliminate the predators around the dino.
⬇️
⑦ 🦖 START TAMING
🏠 6. BUILD A TRAP
For large dinosaurs, a trap can make taming much easier.
In particular, it allows you to:
- prevent the creature from escaping;
- prevent it from attacking the player;
- make it easier to fire tranquilliser darts;
- protect the creature whilst it is being tamed.
For a large PvP dino, a well-prepared trap is often much safer than knocking it out in the wild.
The Spyglass can also provide useful information for certain tames that require a trap.
⚠️ 7. MISTAKES TO AVOID
❌ Shooting without checking the stats
You could end up killing an excellent dino without even realising it.
❌ Forgetting about torpor
The dino may wake up before the fight is over.
❌ Leaving predators nearby
Another dino might kill your tame and waste your time.
❌ Striking an unconscious dino
This can reduce the effectiveness of taming.
❌ Using just any food
The food you use affects the speed and effectiveness of taming.
❌ Feeding a passive tame at the wrong time
Some dinosaurs need to wait until they are hungry enough before accepting new food.
🧠 SUMMARY
💤 TAMING KO
🔭 Spyglass → 🏹 Tranquiliser → 💤 Knockout → 🍖 Food.
🥕 PASSIVE TAMING
🔭 Spyglass → 🍖 Food → 🦖 Tame
🔥 THE MOST IMPORTANT TIP
Never start taming at random.
With the Awesome Spyglass, take a few seconds to check:
Level → Stats → Food → Torpor → Taming method